Printers
- PolyJet Legacy Printers
- Alaris30 V1
- Connex260
- Connex350/500
- Eden250
- Eden260
- Eden260V/VS
- Eden330
- Eden350
- Eden350V/500V
- J700 & J720 Dental
- J750/J735
- J750 Digital Anatomy
- Objet24/30 V2 Family
- Objet24/30 V3 Family
- Objet30 V5 Pro & Prime
- Objet260 Connex 1-2-3
- Objet260 Dental & Dental Selection
- Objet350/500 Connex 1-2-3
- Objet1000 Plus
Materials
- PolyJet Materials
- Agilus30 family
- Biocompatible
- Biocompatible Clear MED610
- Dental Materials
- Dental TrueDent Materials
- Dental TrueDent-D Materials
- Digital ABS Plus
- DraftGrey
- Elastico Clear/Black
- High Temperature
- PolyJet Support
- Rigur & Durus
- Tango
- ToughONE™
- MED610-DSG
- Transparent
- Vero ContactClear
- Vero Family
- Veroflex
- VeroUltra Opaque
- Vivid Colors
- Stereolithography Materials
- Somos® 9120™
- Somos® BioClear™
- Somos® DMX SL™ 100
- Somos® Element™
- Somos® EvoLVe™ 128
- Somos® GP Plus™ 14122
- Somos® Momentum™
- Somos® NeXt™
- Somos® PerFORM™
- Somos® PerFORM Reflect™
- Somos® ProtoGen™ 18420
- Somos® ProtoTherm™ 12120
- Somos® Taurus™
- Somos® WaterClear® Ultra 10122
- Somos® WaterShed® AF
- Somos® WaterShed® Black
- Somos® WaterShed® XC 11122
- Somos® WaterShed® XC+
Digitized Lines
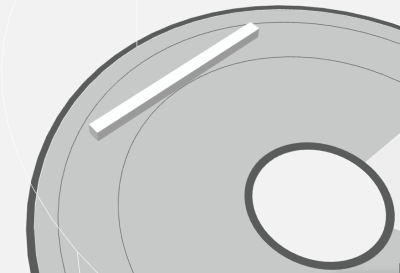
Digitized Lines Appear on a Straight Wall
Sometimes, digitized lines appear on the surface of a long straight 3D printed wall.
Note: The first phase of diagnosing quality issues is verifying that the printer is calibrated properly. Do the following:
- Verify the roller waste collector is clean.
- Run the Advanced Head Optimization wizard.
- Run the Advanced printing diagnostics option under Pattern Test.
- Run the Head Calibration wizard.
Note: Refer to the relevant User Guide for guidelines.

Possible Causes and Solutions
When You Have Digitized Lines Use the Solution Below
When you have digitized lines in certain 3D Prints, follow the solution described in this Troubleshooting Guide.
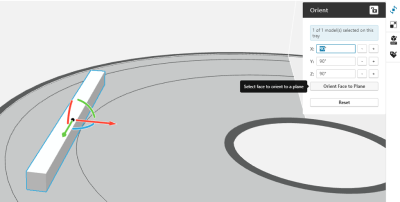
Solution: Manually orient the 3D Print in GrabCAD Print as follows:
- In GrabCAD Print, create another tray and add the 3D part.

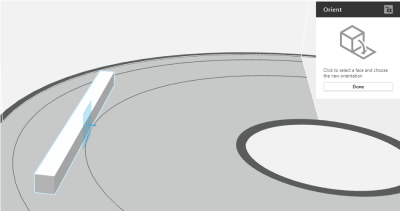
- Select Orient, select a plane, click lock, and then click Orient Face to Plane.


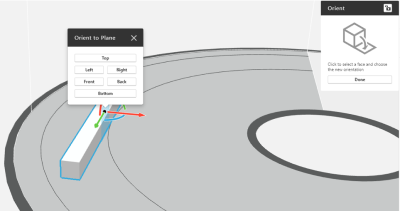
- Click on the 3D print, and in the Orient to Plane dialog box, select the required surface.

- Click Done.
Preventive measures: Based on your experience, set the Orient to Plane option according to your preference.
